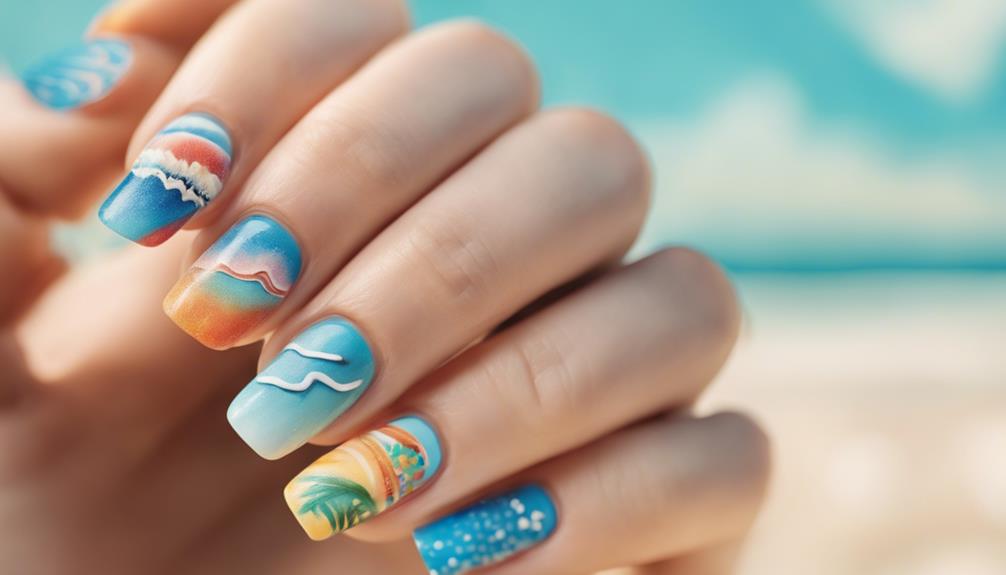
You're just a few simple tools and a dash of creativity away from harnessing a wide range of easy nail art ideas that'll elevate your look and express your personal style! Start with simple designs like a French manicure with a neutral base coat and white stripes, or add some shimmering gold to your nail tips. You can also experiment with geometric patterns, colorful stripes, or even add some glamour with glitter accents. If you're feeling adventurous, try adding leafy green accents or floral patterns for a fresh, outdoorsy look. Get ready to tap into your creativity and discover even more easy nail art ideas that'll make your friends green with envy!
The possibilities are endless when it comes to nail art ideas. You can play around with different color combinations, textures, and even incorporate nail stickers or decals for an extra pop of fun. Don’t be afraid to mix and match different designs to create a unique and personalized look. With a little practice and a lot of imagination, you’ll be able to create stunning nail art ideas that will have everyone asking for your secret!
Key Takeaways
• Start with simple designs like French manicures, shimmering gold tips, or mismatched pastel shades to build confidence.
• Use nail art tools like dotting tools or nail art brushes to create easy and intricate designs.
• Geometric patterns can be achieved using striping tape or nail vinyls, allowing for customization and personal style.
• Add a pop of color with stripes, abstract waves, or DIY marble stickers to create a unique and eye-catching look.
• Experiment with glitter, metallic accents, or leafy green accents to add glamour and elegance to your nail art.

HBlife Makeup Organizer with Brush Holder for Vanity, Large Plastic Bathroom Countertop Organizer Skin Care Storage, Easy to Store Lipsticks, Nail Polishes, Perfumes, Eyeshadow Palettes, All White
- Large Capacity: 13.58x6.89x9.76 inches with multiple compartments
- Organized Storage: Dedicated slots for brushes, pens, and tubes
- Versatile Use: Ideal for vanity, bathroom, and office
As an affiliate, we earn on qualifying purchases.
Simple Nail Art Designs
You can create stunning nail art with minimal effort by trying out these simple yet stylish designs that require little to no expertise. For a classic look, try a French Manicure with a neutral base coat and thin white stripes down the middle – it's an easy and elegant option.
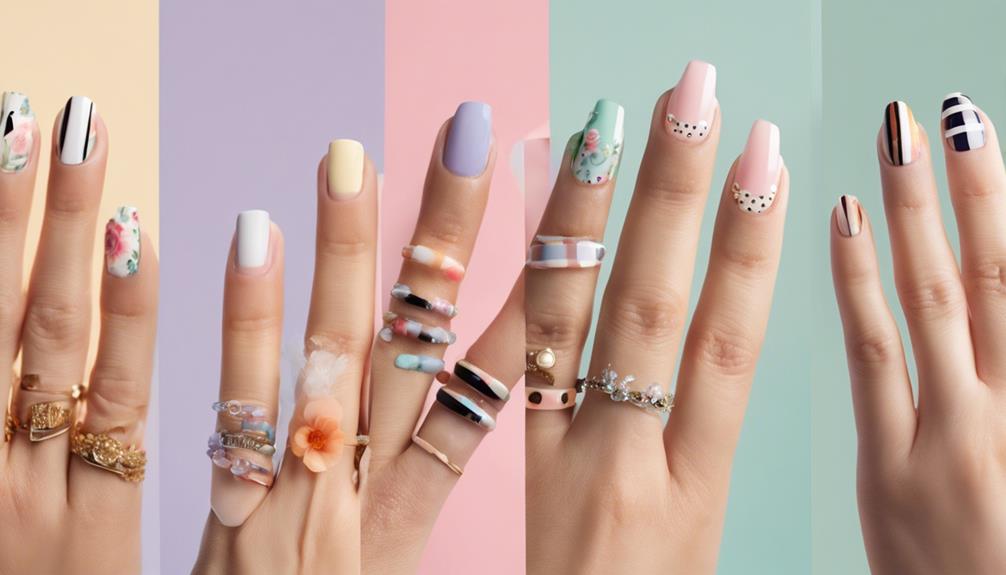
If you want to add some glamour, apply a swipe of shimmering gold at the tips of your nails for a sophisticated touch. Alternatively, opt for mismatched pastel shades on each nail for a playful and trendy nail art option.
If you're new to nail art, don't worry – you can still create intricate designs effortlessly using nail stickers. Simply peel, stick, and voilà! You'll have a stunning design in no time.
With a Dotting Tool or Nail Art Brush, you can get creative with easy nail art designs, from stripes to dots. And if you're not feeling confident in your skills, nail stickers are always a great backup plan.
Geometric Patterns to Try
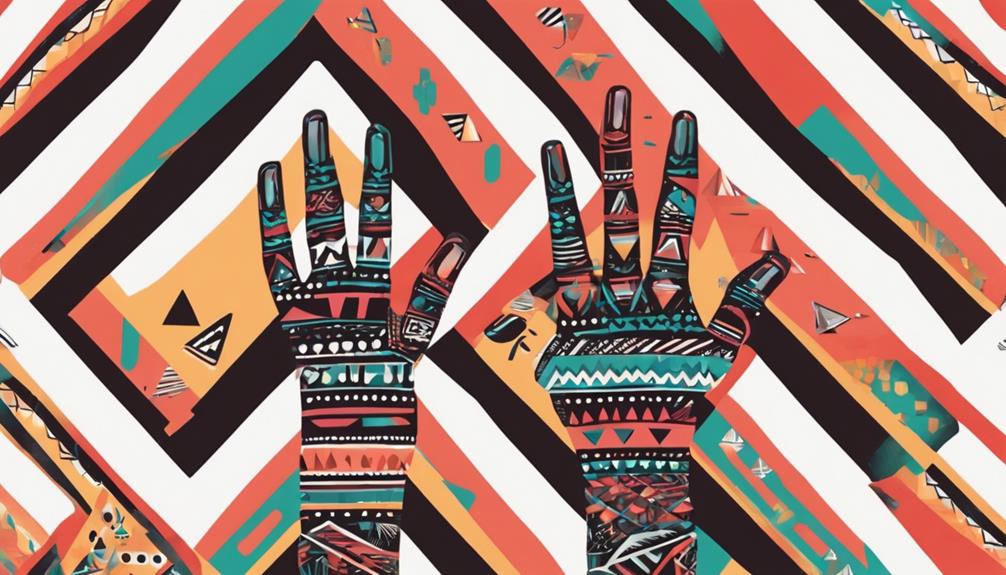
Now that you've mastered simple nail art designs, take your skills to the next level with geometric patterns that add a modern and trendy twist to your nail art creations.
As a beginner, you'll love how easy it's to create stunning geometric patterns using nail art brushes, striping tape, or nail vinyls. Triangles, squares, and chevron patterns are popular choices that are easy to achieve and require minimal skills.
Playing with different colors and shapes can create unique and eye-catching geometric nail art. You can customize geometric patterns to suit your personal style or preference, making them versatile and fun to experiment with.
Whether you're going for a bold and edgy look or a subtle and sophisticated design, geometric patterns have got you covered. With a little practice, you'll be creating intricate and complex designs that'll make your friends green with envy.
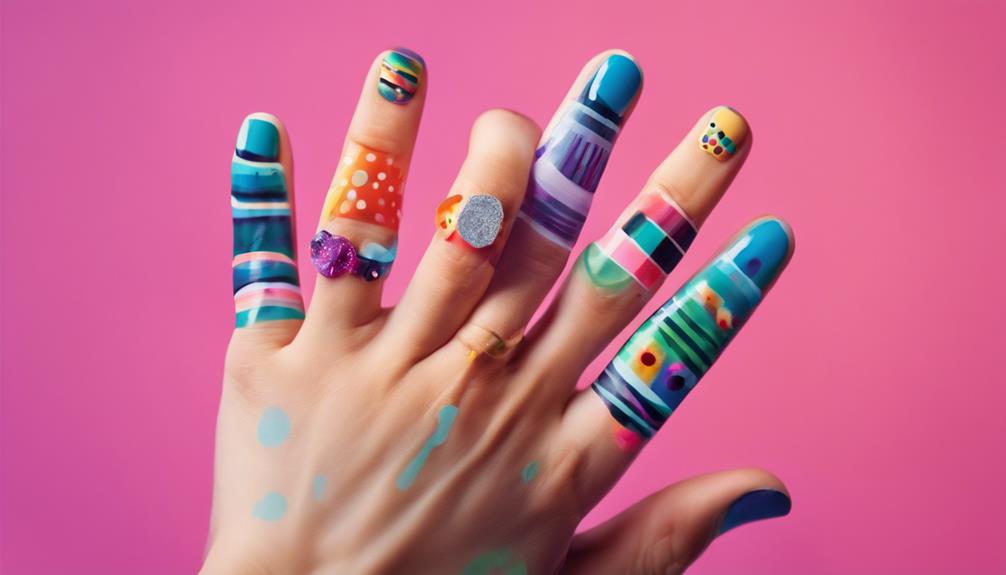
Colorful Nail Art Ideas
To complete your colorful nail art designs, why not try the trendy criss-cross French manicure variation by brushing two contrasting colors in a V-shape, sealing them with a top coat, and cleaning off any excess polish with acetone for a chic and modern look.
Adding a pop of color to your nail art can instantly elevate your look, and with these colorful nail art ideas, you'll be able to create stunning, one-of-a-kind designs that showcase your personal style.
Why not try creating multi-colored stripes using a striping brush and 3-6 colors? You can also achieve a sophisticated and playful look with neutral, two-toned nails by painting a lighter color first, allowing it to set, using nail tape, and painting a darker color before removing the tape and applying a top coat.
For a more abstract look, try creating abstract waves in any color combination, adding a white wave for depth. If you're feeling crafty, make your own DIY marble stickers by applying drops of 2-3 colors on wax paper, swirling them with a toothpick, letting them dry, and then placing them on your nail base and smoothing out the edges.
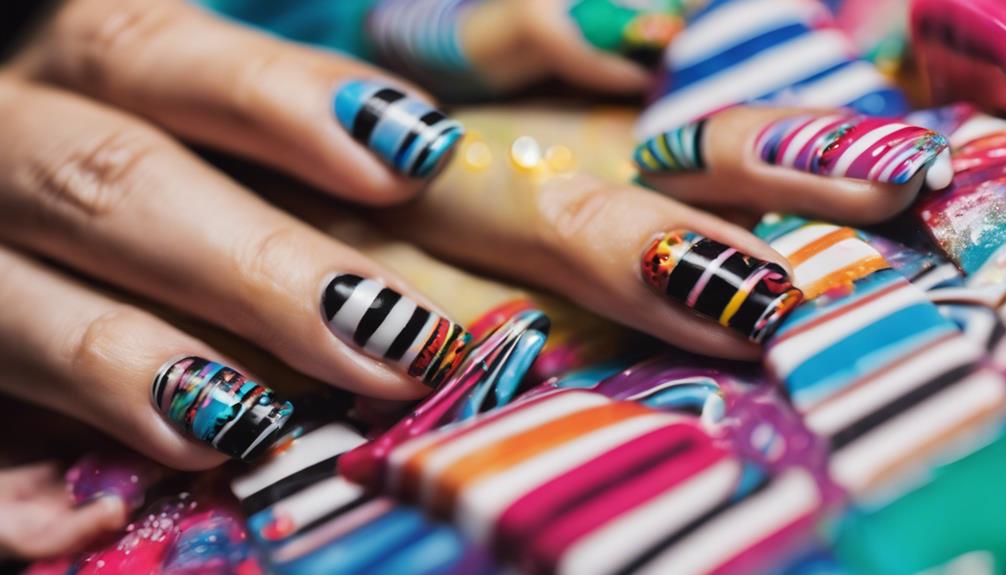
Nail Art With Stripes
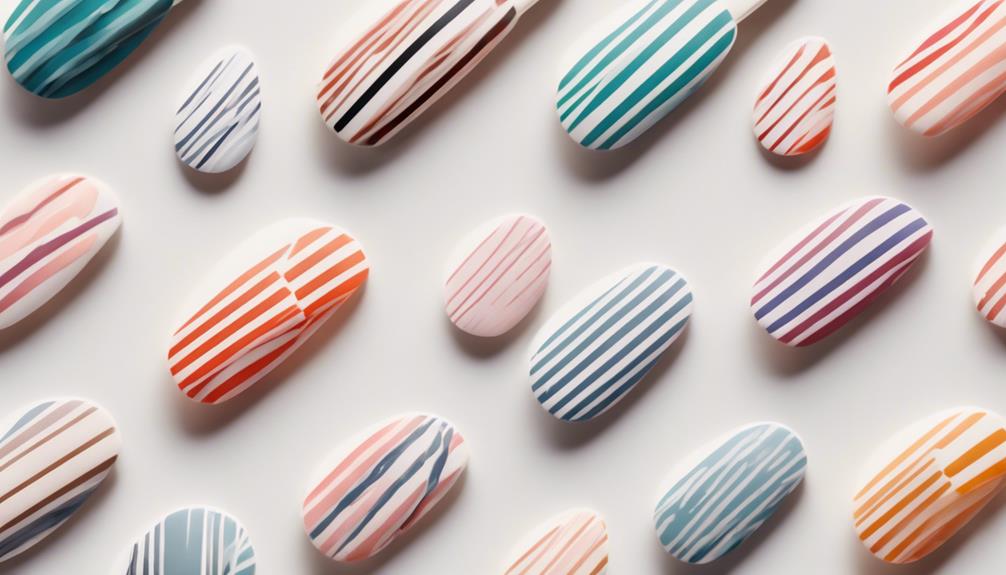
By incorporating stripes into your nail art, you can instantly elevate your look with a chic and sophisticated design that's perfect for any occasion. With nail stripe stickers, you can create stylish and precise designs with minimal effort.
Want to add some fun and sophistication to your nails? Experiment with different shapes and colors using a striper brush to create unique and playful designs. You can also add colored stripes to your neutral nails for a playful yet elegant look that's suitable for various settings.
Striped nail art designs are incredibly versatile and can be easily customized to suit your personal style and preferences. You can mix and match different colors, shapes, and patterns to create a look that's all your own. Plus, with nail stripe stickers, you can achieve a polished and trendy nail design with minimal effort.
Whether you're heading to a formal event or just want to add some flair to your everyday look, striped nail art is a great way to make a statement. So why not give it a try and see how you can elevate your nail game with stripes?
Nail Designs With Glitter
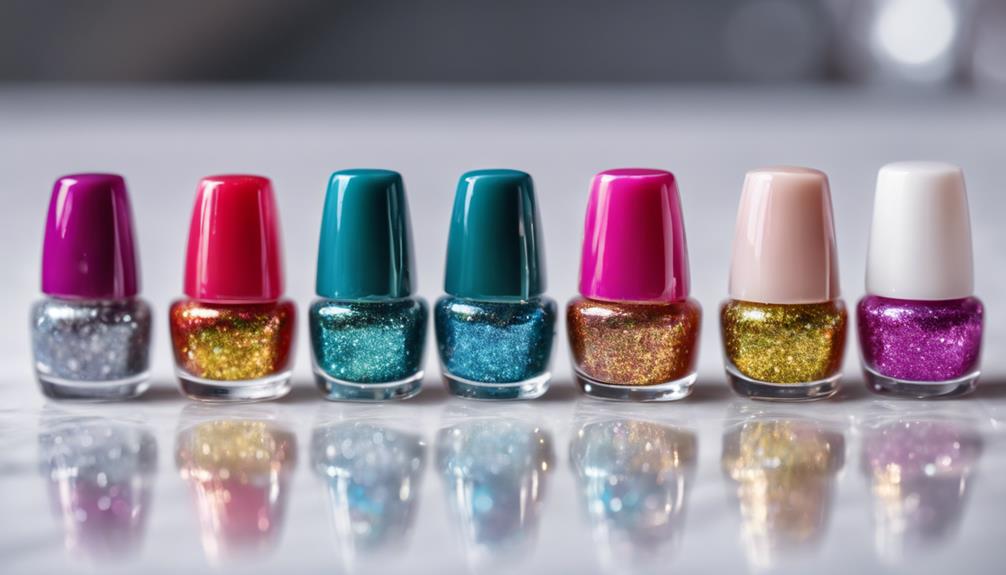
You can instantly elevate your nail game with glitter, a versatile and easy-to-apply addition that adds a touch of glamour to any nail design. Whether you're looking for a subtle shine or a bold statement, glitter is an easy way to take your nail art to the next level.
Here are three ways to incorporate glitter into your nail design:
- Glitter Gradient: Start with a nude base color and apply glitter polish with a sponge to create a gradient effect.
- Holographic Shine: Add holographic glitter to any nail design for a glamorous and eye-catching finish.
- Glitter Accent: Use glitter polish as an accent color to add a pop of sparkle to your nail design.
Glitter nail polish is easy to create and can instantly transform your nails with a touch of shimmer and shine. Try pairing metallic colors with a clear top coat for a mesmerizing effect.
With glitter, the possibilities are endless, and it's perfect for special occasions or adding a spark to your everyday style.
Easy Nail Art With Stickers
Now that you've got the basics of nail art down, it's time to take your skills to the next level with stickers!
You'll learn how to choose the perfect stickers for your design, apply them like a pro, and create stunning nail art looks that will impress your friends.
From selecting the right stickers to designing with them, you'll master the art of easy nail art with stickers in no time!
Sticker Selection Tips
With a vast array of designs at your fingertips, selecting the right nail art stickers is key to achieving a professional-looking finish. You want to choose stickers that are easy to apply, flexible, and come in various designs to match your personal style.
Here are some tips to keep in mind when selecting nail art stickers:
- Opt for self-adhesive stickers that can be easily pressed onto the nail surface, making application a breeze.
- Choose thin, flexible material that conforms to the nail shape, ensuring a seamless look.
- Select from various designs, including hearts, stars, flowers, or abstract patterns to match your unique style.
Consider using clear nail stickers for a subtle look or colored stickers for a pop of color. Don't be afraid to experiment with different sizes and shapes of nail art stickers to create unique designs on your nails.
Applying Stickers Correctly
Apply a small amount of clear topcoat to your nail to create a sticky surface, enabling the sticker to adhere smoothly and evenly. This guarantees a strong bond between the sticker and your nail, preventing it from peeling off prematurely.
Next, carefully peel the sticker from its backing and place it on your nail, smoothing out any air bubbles with a credit card or similar tool. Make sure to press the sticker firmly onto your nail, especially around the edges, to prevent lifting.
If necessary, use a nail file to gently shape the sticker to fit your nail curve. Finally, seal the sticker with a clear base coat to protect it from chipping and fading.
With these simple steps, you'll be on your way to creating easy nail designs that look professional and polished. By applying stickers correctly, you can achieve beginner-friendly nail art that's perfect for any occasion.
Designing With Stickers
You can create a wide range of nail art designs using stickers, from simple accents to bold statements, and the best part is that you don't need to be a skilled artist to achieve salon-quality results. With nail art stickers, you can achieve intricate designs that would be impossible to recreate by hand, making them perfect for beginners or those with unsteady hands.
Here are three reasons why nail art stickers are a game-changer for beginners:
- Precise designs: Nail art stickers provide precise and detailed designs that would be difficult to achieve with a brush.
- Endless customization: With stickers coming in various shapes, sizes, and patterns, you can customize your nail art to fit your personal style.
- Easy application: Applying nail art stickers is a breeze – simply peel off, place on the nail, and seal with a top coat for a long-lasting design.
With nail art stickers, you can achieve professional-looking nail art at home without breaking the bank or spending hours at the salon. Plus, they're a cost-effective and time-saving way to get creative with your nail art.
Nail Art Inspired by Nature
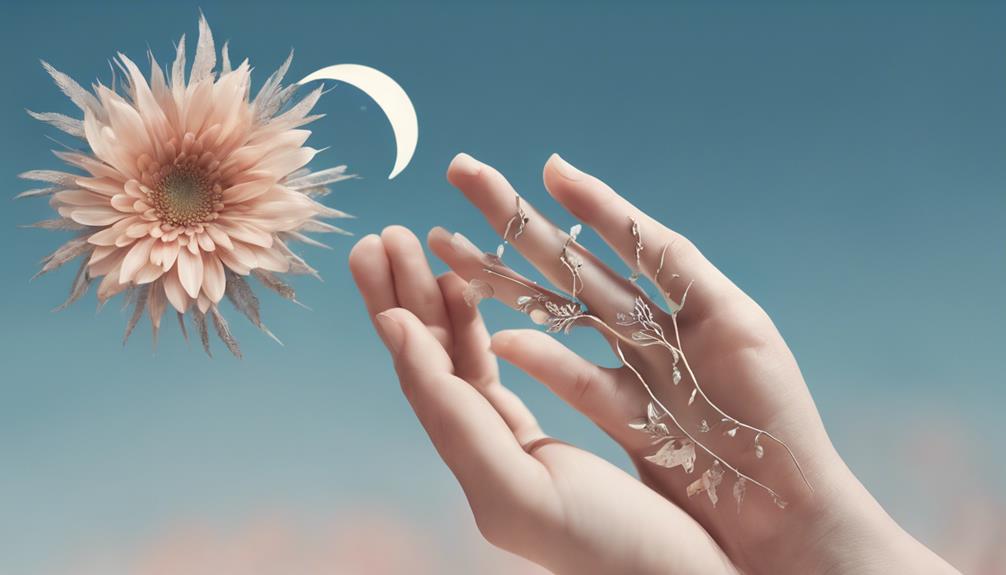
As you explore the world of nail art inspired by nature, you'll discover a world of possibilities.
You'll learn how to add leafy green accents that evoke the freshness of a spring morning, create floral pattern inspirations that transport you to a field of blooms, and master earthy tone colors that bring the great outdoors to your fingertips.
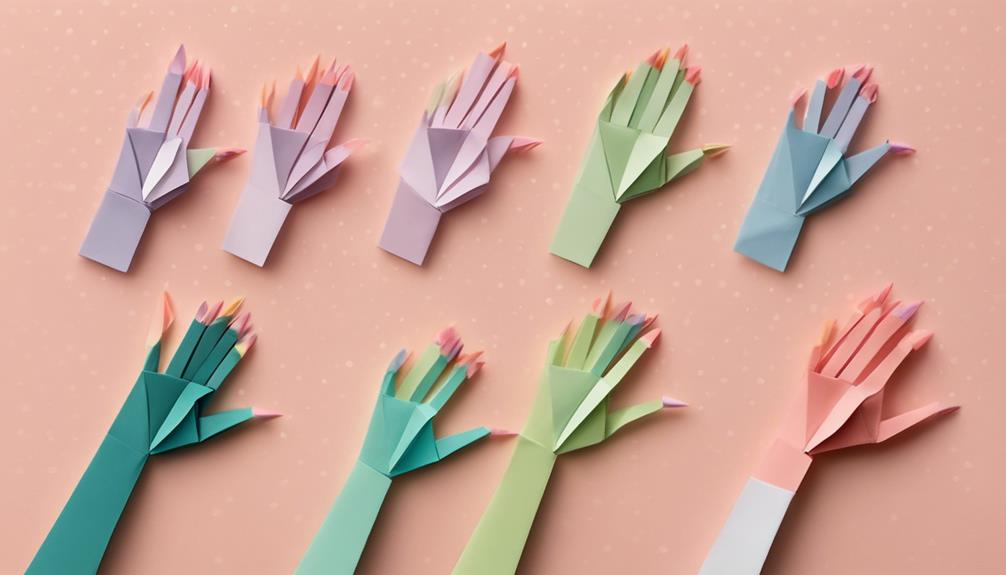
Leafy Green Accents
Incorporating leafy green accents into your nail art is a great way to bring the outdoors onto your fingertips. With a few simple steps, you can create a nature-inspired look that's perfect for any time of year.
To get started, try using shades of green to create leaf designs or accent nails for a fresh and vibrant manicure.
Here are a few tips to keep in mind:
- Experiment with different green hues: From lime to forest, there are countless shades to choose from.
- Add dimension with leaf shapes: Try pairing rounded leaves with pointed ones for a unique look.
- Pair with neutral tones: Combine your leafy green accents with earthy tones like beige or brown for a harmonious aesthetic.
Floral Pattern Inspiration
Floral patterns, inspired by the intricate beauty of nature, offer a versatile and feminine way to adorn your nails with delicate flowers, leaves, and other botanical elements. You can easily recreate these designs, ranging from simple accents to intricate bouquets, to add a touch of elegance to your nails.
With floral patterns, you can experiment with various color combinations, shapes, and sizes of flowers to create unique and personalized designs.
As a beginner, you can start with basic flower shapes and gradually progress to more elaborate floral patterns with practice and experimentation. You can also mix and match different botanical elements, such as leaves and stems, to create a one-of-a-kind look.
The best part? Floral patterns are simple to recreate, even for beginners! With a little creativity, you can create stunning nail art that's sure to turn heads. So, get creative and let the beauty of nature inspire your next nail art design!
Earthy Tone Colors
You can evoke the serenity of the great outdoors with earthy tone colors that bring a sense of natural elegance to your nail art. Imagine moss green, terracotta, and sandy beige hues that transport you to a serene forest or a tranquil desert landscape. These earthy tone colors are perfect for creating nature-inspired nail art that's both calming and stylish.
To take your earthy tone nail art to the next level, try incorporating:
- Leaf motifs that resemble real leaves, adding a touch of whimsy to your design.
- Floral designs that mimic the intricate patterns found in nature.
- Wood grain patterns that evoke the rustic charm of a forest floor.
Finish off your look with a matte top coat to give your nail art a natural, understated look. You can also experiment with different textures like glossy or metallic finishes to add depth and interest to your design.
With earthy tone nail art, you can create a look that's both trendy and timeless, perfect for pairing with different outfits and styles.
Nail Designs With Metallic
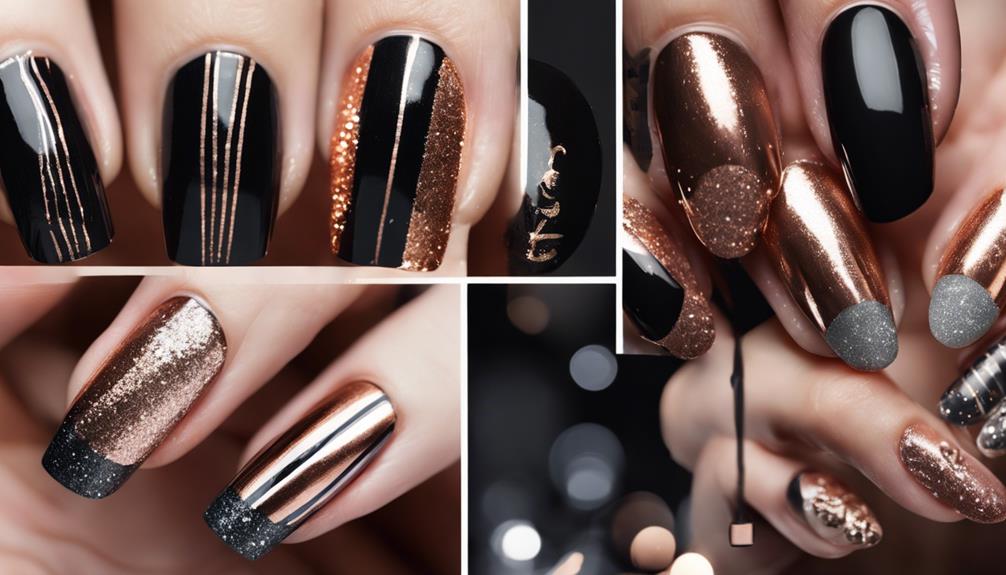
Metallic accents can instantly elevate a simple nail design, giving it a luxurious and eye-catching finish. You can add a touch of glamour to your manicure with metallic polishes or accents, creating a look that's perfect for a night out or a special occasion.
One easy nail art idea is to try a French tip design with metallic tips – it's a classic look that's both elegant and sophisticated. Alternatively, you can incorporate metallic accents into a polka dot pattern for a more playful vibe.
With metallic polishes available in a range of shades, from gold and silver to rose gold and chrome, you can experiment with different looks to find the one that suits you best. Whether you're going for a bold, eye-catching design or a more subtle, understated look, metallic accents can add a touch of luxury to your nail art.
Nail Art With Polka Dots
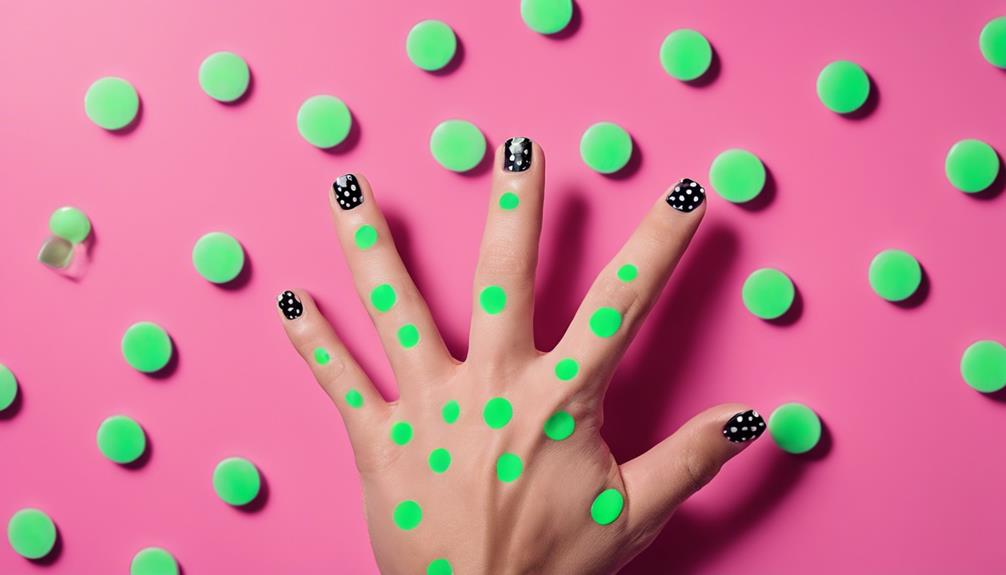
With a dotting tool or toothpick in hand, it's surprisingly easy to create playful polka dot designs that add a dash of whimsy to your manicure. As a beginner, you'll love how beginner-friendly polka dot nail art is! You can customize your design with dots of various sizes and colors to suit your unique style. Plus, this classic design is versatile and can be incorporated into different nail shapes and lengths for a fun look.
Here are some tips to get you started:
- Choose your colors: Select a palette that reflects your personality, from bold and bright to soft and pastel.
- Experiment with sizes: Mix and match dots of various sizes to create a visually appealing design.
- Don't be afraid to mix it up: Combine polka dots with other nail art elements, like stripes or florals, for a truly unique look.
Polka dot nail art is a timeless and classic design that adds a touch of whimsy and charm to any manicure. With a little creativity and practice, you'll be creating cute and playful designs in no time!
Nail Designs With French Tips
Now that you're familiar with the basics of French tip nail designs, it's time to get creative!
You can add a classic touch with a traditional French twist or make a bold statement with accent nails that pop.
These two points will get you started on designing your own unique French tip nail art that's sure to impress.
Classic French Twist
You can elevate your nail art game by incorporating a classic French twist, which puts a modern spin on the traditional French manicure by introducing contrasting colors or unique patterns. This chic and stylish design adds a touch of sophistication to any nail look, perfect for both casual and formal occasions. With a timeless appeal, French manicures with a twist offer an elegant nail art option for all skill levels.
To get started, try these easy and versatile French tip designs:
- Criss-Cross Pattern: Alternate between two contrasting colors to create a bold, graphic look.
- Diagonal Tips: Add a modern twist to the classic French manicure with diagonal tips in bold, bright colors.
- Ombre Effect: Gradually shift from one color to another for a stunning, multi-dimensional look.
These designs are easy to achieve with nail tape, nail stickers, or freehand painting, making them perfect for beginners. Kids nail designs are also a great option for young beginners who want to have fun with their nails. Nail stickers with cute animals, stars, or flowers are popular choices for kids nail designs. With a little creativity and some practice, kids can easily create their own unique and colorful nail designs.
With a French twist, you can create a variety of nail designs that exude elegance and sophistication. So, don't be afraid to experiment and put your own spin on this classic look!
Bold Accent Nails
Take your French tip nails to the next level by adding a bold accent nail that showcases a unique design, color, or texture, creating a striking contrast that elevates your overall look.
As a nail art beginner, you can experiment with different designs, colors, or textures to create a bold accent nail that complements your French tips. Try pairing bold designs with contrasting colors to create a striking contrast that adds visual interest to your nails.
For a chic look, pair a bold geometric pattern with a classic French tip in a neutral shade. Alternatively, add some glamour with a metallic accent nail that shines against a French tip in a soft pastel hue.
The possibilities are endless, and the best part is that you can customize your look to fit your personal style.
Frequently Asked Questions
How Do I Remove Nail Polish Without Damaging My Nails?
So you want to know the secret to removing nail polish without damaging your nails? Well, you're in luck!
Start by soaking a cotton pad with nail polish remover and gently placing it on your nail. Let it sit for a few seconds before gently wiping away the polish.
Repeat if needed, and finish with a moisturizing cuticle oil to keep your nails healthy and strong.
Can I Use Regular Polish for Nail Art or Is Special Polish Needed?
You're wondering if regular polish will cut it for nail art or if you need something special.
The good news is, you can definitely use regular polish for nail art, but keep in mind it mightn't be as vibrant or long-lasting as specialized nail art polish.
If you're just starting out, regular polish is a great way to experiment and get a feel for nail art.
What Is the Best Type of Nail Brush for Nail Art Beginners?
When it comes to choosing the best nail brush for nail art, you'll want one that's specifically designed for precision and control.
Look for a brush with synthetic or sable fibers, as they hold polish well and create smooth lines.
A brush with a small, flexible head (around 0.5-1mm) is ideal for intricate designs.
You can also opt for a brush set that includes various sizes for different techniques.
How Long Does It Take for Nail Art to Fully Dry and Set?
You're probably thinking, 'I've spent hours perfecting my nail art, now how long do I've to wait for it to dry?'
Well, the good news is, you don't have to wait that long! Typically, nail art takes around 30 minutes to an hour to fully dry and set, depending on the type of polish and topcoat you use.
However, it's always a good idea to wait at least 24 hours before exposing your hands to water or harsh chemicals.
Can I Use Nail Art on Weak or Brittle Nails?
You're wondering if you can still indulge in nail art despite having weak or brittle nails. The short answer is, it's possible, but with caution. Choose nail art techniques that don't put excessive pressure on your nails, like stickers or wraps.
Avoid using harsh chemicals or heavy glues that can further weaken your nails. Instead, opt for gentle, nourishing products that promote healthy nail growth.
Conclusion
You've just discovered the secret to becoming a nail art rockstar! With these easy and trendy designs, you'll be creating masterpieces in no time.
From geometric patterns to glittering accents, you'll be the envy of all your friends.
And the best part? You don't need to be a pro to achieve salon-quality results.
So, go ahead, get creative, and watch your nails become the talk of the town!