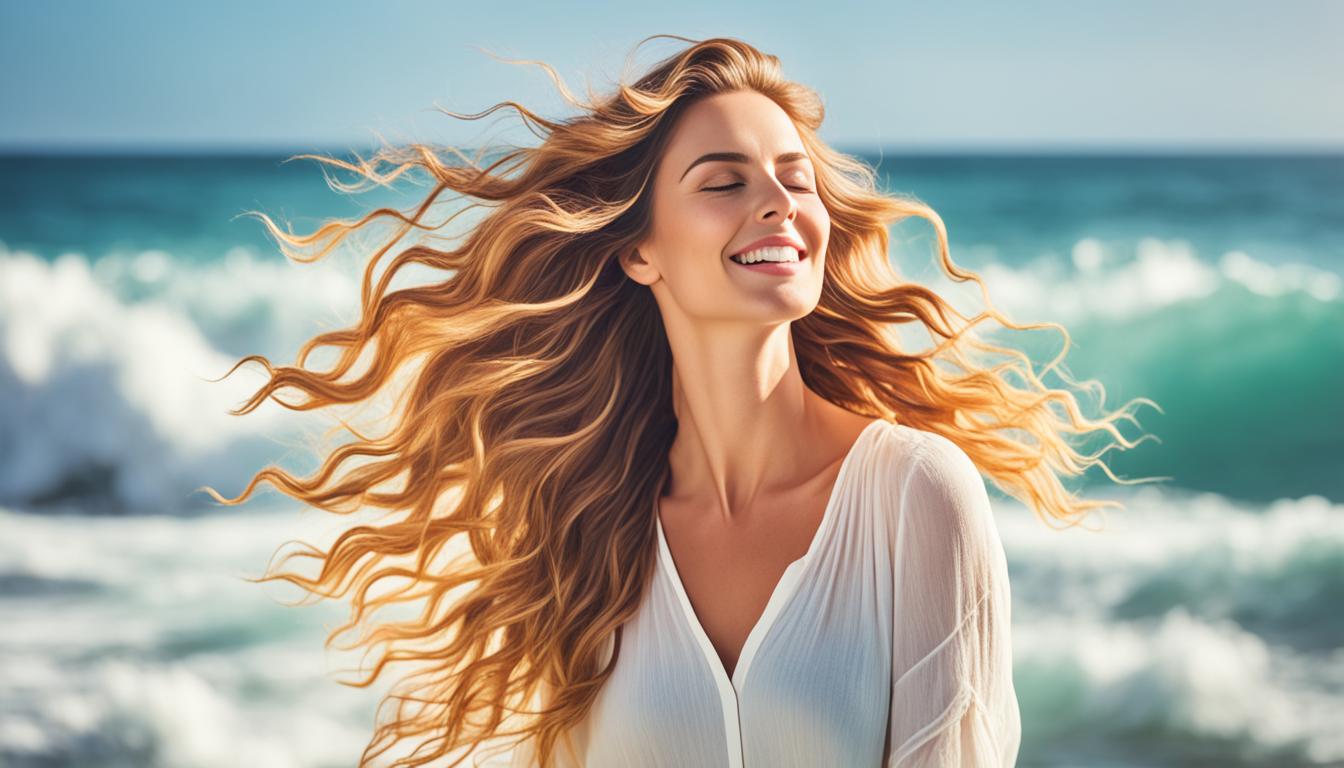

Have you ever found yourself gazing in admiration at those flawless beach waves, wondering how to achieve that same effortlessly chic look? You’re not alone. Many people aspire to have those perfect waves that exude a sense of effortless charm and relaxed sophistication.
Maybe you’ve spent hours trying to recreate those beachy waves, only to end up frustrated with lackluster results. Perhaps you’ve even resorted to scrolling through endless hairstyle tutorials, desperately seeking the secret to achieving that coveted look.
Well, fret no more! In this comprehensive hairstyle guide, we’ll walk you through tried-and-true techniques to help you achieve those perfect waves you’ve always dreamed of. From heatless methods to using curling irons and flat irons, we’ll cover everything you need to know to confidently rock that beachy vibe.
Key Takeaways:
- Discover expert tips and techniques to achieve the perfect waves hairstyle.
- Learn how to create beach waves naturally without using any heat tools.
- Find out how to get beach waves using a straightener or flat iron.
- Explore methods for achieving beach waves on both long and short hair.
- Unlock the secrets to achieving messy beach waves and perfect waves overnight.
How to Get Beach Waves Naturally Without Heat
If you want gorgeous beach waves without using any heat tools, you’re in luck! There’s a simple and low-maintenance method that can give you those beautiful waves you desire. All you need is a styling product, a few bobby pins, and some patience to achieve those effortless, natural beachy waves.
To begin, start with clean, damp hair. Apply a coin-sized amount of your favorite wave-enhancing product evenly through your locks. This will help to enhance the natural texture and encourage the formation of waves as your hair air-dries.
Once the product is evenly distributed, divide your hair into several sections. This will make it easier to work with and ensure that every strand gets the opportunity to form beautiful waves.
Now, take each section and twist it into a loose bun. Secure the bun with bobby pins, making sure they are hidden within the twists. Allow your hair to air-dry completely, undisturbed. This process may take a few hours, so it’s best to do it before bed or during a lazy day at home.
Once your hair is completely dry, gently undo the buns and let your waves loose. Use your fingers to separate and tousle the waves for a more natural look. If desired, you can mist your hair with a lightweight hairspray to hold the waves in place.
“Achieve beach waves effortlessly without exposing your hair to heat. Using this no-heat method allows you to maintain the health and integrity of your hair while still rocking those gorgeous, effortless waves.” – Hair Specialist
This heatless method is perfect for those who prefer a low-maintenance hair routine or want to avoid additional heat styling. It’s also a great option for those with damaged or color-treated hair, as heat can further dehydrate and weaken the hair strands. Air-drying your hair to achieve beach waves is also a fantastic way to embrace your natural hair texture and enhance its beauty.
With this simple technique, you can rock those beach waves without the need for any heat tools. Whether you’re heading to the beach, attending a summer festival, or just want a laid-back, effortless look, this air-dry method will give you those enviable waves you crave.

| Benefits of Heatless Beach Waves | Benefits of Air-Drying |
|---|---|
|
|
How to Get Beach Waves with a Straightener or Flat Iron
Creating beach waves doesn’t always require a curling iron. You can achieve those effortless, sun-kissed waves using a straightener or flat iron. By following the right technique, you can easily transform your hair into beautiful, bouncy waves.
To get started, ensure that your hair is dry and heat-protected. Here’s a step-by-step guide to getting beach waves with a straightener or flat iron:
Step 1: Prep your hair
Start by applying a heat protectant spray to shield your strands from any potential heat damage. This will also help in setting your waves for a long-lasting style.
Step 2: Section your hair
Divide your hair into manageable sections using hair clips or hair ties. This step will make it easier to work with smaller sections of hair, ensuring that each strand is properly styled.
Step 3: Twist and wrap
Take a small section of hair and wrap it around the flat iron or straightener. Make sure the flat iron is facing downwards, parallel to the floor. Gently glide the iron down towards the ends, allowing the hair to twist and curl around the plates. This technique will create waves with a polished, shiny finish.
Step 4: Alternate directions
As you continue styling your hair, remember to alternate the direction of each wave. For a more effortless and natural look, curl some sections towards your face and others away from your face. This variation will give your waves a more organic appearance.
Step 5: Finish with a shine-enhancing spray
Once you’ve completed styling your hair, give it a final touch of shine by using a shine-enhancing finishing spray. This will add a glossy finish and lock in your beach waves for the day.
Remember, practice makes perfect. Don’t be discouraged if your waves don’t turn out exactly as desired on the first try. Experiment with different heat settings, hair section sizes, and wrapping techniques to find what works best for your hair type and desired wave style.
Now you’re ready to rock those stunning beach waves using a straightener or flat iron!

| Pros | Cons |
|---|---|
| Provides extra shiny waves | Requires practice to master the technique |
| Can achieve polished, glossy finish | May cause heat damage if not used properly |
| Allows for control over wave direction | May take longer to style compared to other methods |
How to Get Beach Waves on Long Hair
Contrary to common belief, you can achieve voluminous waves on long hair using a small barrel curling iron. Divide your hair into large sections and curl them with a small barrel curling iron. This technique allows you to quickly and efficiently curl your long hair into beautiful waves.

“I always thought my long hair was too heavy for waves, but using a small barrel curling iron made all the difference. Now I can enjoy those gorgeous beach waves I’ve always wanted!” – Sarah Roberts
Here is a step-by-step guide to achieving beach waves on long hair:
- Start with clean, dry hair.
- Apply a heat protectant spray to prevent damage from the curling iron.
- Divide your hair into large sections using hair clips or hair ties.
- Take one section at a time and wrap it around the small barrel curling iron.
- Hold the curling iron in place for a few seconds to set the wave.
- Gently release the curl and move on to the next section.
- Repeat until all sections of your hair are curled.
- Once all the waves have cooled down, use your fingers to separate and tousle the waves for a more natural look.
- Finish with a light-hold hairspray to ensure your beach waves last all day.
By following these steps and using a small barrel curling iron, you can achieve stunning beach waves on your long hair. Experiment with different curling techniques and products to find the perfect style that suits you.
How to Get Beach Waves on Short Hair
Getting beach waves on short hair can be a bit more challenging, but it is still completely achievable. With the right technique and tools, you can rock those effortless, tousled waves that are perfect for any summer day.
To create beach waves on short hair, you’ll need a 1-inch curling iron and a few simple steps:
- Start by preparing your hair. Apply a heat protectant spray to shield your hair from any potential damage.
- Set your curling iron to a low heat setting to avoid causing excessive heat damage to your hair.
- Divide your hair into vertical sections, working from the top to the bottom. This will help you create more defined waves.
- Take a small section of hair and wrap it around the curling iron, holding it for a few seconds before releasing.
- As you move towards the undermost layers, alternate between curling your hair towards your face and away from your face. This will create a more natural-looking wave pattern.
- Continue curling each section until your entire head has been curled.
- Once all the curls have cooled down, gently run your fingers through your hair to loosen them into soft, beachy waves.
- To set the style and ensure it lasts longer, spritz some hairspray onto your hair. This will also help fight frizz and keep your waves looking flawless.
Remember, using a curling iron on short hair requires a bit of finesse, so take your time and practice to find the technique that works best for you. With a little patience and practice, you’ll be able to achieve gorgeous beach waves on your short hair.
| Curling Iron Size | Heat Setting | Sectioning Technique | Curl Direction | Finishing Product |
|---|---|---|---|---|
| 1-inch | Low heat | Vertical sections | Alternating towards and away from the face | Hairspray |

How to Get Beach Waves Overnight
For those who want to wake up with perfect waves, try the overnight method.
- Section your hair into manageable parts.
- Take each section and twist it tightly around a fabric belt.
- Secure each twist with hair ties, making sure they are snug.
- Once all sections are twisted and secured, twist the entire section together, forming a bun at the nape of your neck.
- In the morning, undo the twists and remove the fabric belt and hair ties.
- Run your fingers through your hair to separate the waves and create natural-looking texture.
- Set the style with a light mist of hairspray to ensure the waves last all day.

By using this overnight method with a fabric belt, you can achieve beach waves effortlessly. The fabric belt helps to create defined and long-lasting waves while you sleep, giving you that tousled and beachy look in the morning.
How to Get Beach Waves on Medium-Length Hair
If you have medium-length hair, you can achieve beautiful beach waves with the pull-through technique. This method adds effortless waves to your hair, creating a relaxed and stylish look.
To start, you’ll need a 1-inch barrel curling iron. Begin by dividing your hair into several sections, about 1-2 inches wide each.
Step 1: Take one section of hair and wrap it around the curling iron, starting from the middle of the hair’s length. Leave the ends of the hair out of the curling iron to create a more seamless, natural look. Hold for a few seconds to set the wave, then gently release.
Step 2: Continue this technique with each section of hair, working your way around your head. Make sure to alternate the direction of the curls to add dimension and variety to your beach waves.
Step 3: Once all the sections are curled, use your fingers to gently comb through the waves. This will help create a soft, tousled effect.
Step 4: To enhance the texture and hold of your beach waves, use a few styling products. Start by applying dry shampoo at the roots to add volume and absorb any excess oil. Then, spray a texturizing spray through the ends of your hair to add definition and amplification to the waves. Finally, apply a small amount of hydrating oil to the ends for added shine and smoothness.
With the pull-through technique, you can easily achieve beautiful beach waves on medium-length hair. This versatile hairstyle is perfect for any occasion, whether it’s a casual day out or a special event.

| Benefits of the Pull-Through Technique: |
|---|
| 1. Creates natural-looking waves |
| 2. Adds texture and volume to medium-length hair |
| 3. Allows for easy customization and styling |
| 4. Suitable for various occasions |
How to Get Messy Beach Waves
Messy beach waves are a popular, effortless hairstyle that exudes a carefree and laid-back vibe. If you want to achieve these tousled and textured waves, this section will guide you through the process step by step.
To start, it’s important to note that messy beach waves typically begin around ear level, providing a natural and relaxed look. One of the easiest ways to achieve this style is by incorporating a curling wand into your routine.

Follow these simple steps to get your own messy beach waves:
- Gather your hair into a ponytail, ensuring that the tied section starts at ear level.
- Take your curling wand and wrap the ponytail section around it, holding it for a few seconds to create the curls.
- Release the curls and gently tousle them with your fingers for a more effortless look.
- Finish the hairstyle by spraying a texturizing spray throughout your hair to enhance the messy, beachy texture.
By focusing on curling only the tied section of your hair, you can achieve those desired messy beach waves while still maintaining a natural and blended appearance. The result is a hairstyle that effortlessly captures the essence of summer.
“Messy beach waves are the perfect hairstyle for those looking to add a touch of bohemian chic to their look.” – Hair Stylist Sarah Johnson
Remember to adjust the heat setting on your curling wand according to your hair type and desired results. Lower heat settings are recommended for finer hair to prevent damage, while higher heat settings can be used on thicker or coarser hair for more defined waves.
Now that you know how to achieve messy beach waves, you can effortlessly rock this trendy hairstyle for any occasion. Embrace the relaxed and carefree vibes of the beach, no matter where you are.
How to Get Beach Waves with a Curling Wand
A curling wand is a versatile tool for creating beautiful beach waves. With the right technique and products, you can achieve a natural texture that will make heads turn. Follow these steps to get beach waves with a curling wand:
- Preparation: Start by ensuring your hair is dry and brushed free of tangles. Apply a heat protectant spray to shield your hair from the curling wand’s high temperature. This is an essential step to prevent heat damage and maintain the health of your hair.
- Sectioning: Divide your hair into manageable sections, clipping away the parts you won’t be curling. Smaller sections will result in tighter, more defined waves, while larger sections will create looser, more relaxed waves.
- Curling Technique: Take a strand of hair and wrap it around the curling wand, starting from the middle of the strand and leaving a few inches of the ends uncurled. This technique creates a more natural look and prevents the waves from looking too uniform. Hold the hair around the wand for a few seconds, then release the curl. Repeat this process with each section of hair.
- Finishing Touch: Once all the sections are curled, let your hair cool for a few minutes. Then, gently run your fingers through the curls to separate them and create a more effortless, beachy look. For extra hold and texture, spray a sea salt wave spray onto your hair. This will enhance the natural texture and give your waves extra definition.
Remember, practice makes perfect when it comes to using a curling wand. Experiment with different techniques and find the curling wand size that works best for your desired wave style. With time and practice, you’ll become a pro at achieving gorgeous beach waves!
Tips for Using a Curling Wand:
- Choose the right barrel size: Smaller barrels (around 1 inch) are perfect for tighter, more defined waves, while larger barrels (1.5 inches or more) create loose, voluminous waves.
- Adjust the heat setting: Start with a lower heat setting and gradually increase if needed to prevent excessive heat damage.
- Maintain even tension: Keep consistent tension on the hair as you wrap it around the wand for uniform curls.
- Alternate curl direction: Curl sections in different directions (some clockwise, some counterclockwise) for a more natural, multidimensional look.
- Use a heat-resistant glove: If you’re new to using a curling wand, consider wearing a heat-resistant glove to protect your hands from accidental burns.

| Curling Wand Size | Wave Style | Recommended Hair Length |
|---|---|---|
| 1 inch or smaller | Tighter, more defined waves | Short to medium-length hair |
| 1.25 – 1.5 inches | Loose, natural waves | All hair lengths |
| 1.5 inches or larger | Soft, voluminous waves | Medium to long hair |
Experiment with different curling wand sizes and techniques to find the perfect combination for your desired beach wave style. Have fun and embrace your natural texture!
Straighten out your texture first
Straight hair is the easiest to work with when creating beach waves. Before curling, it’s important to straighten out your natural texture to create a blank canvas. This step is especially crucial for those with curly or textured hair. By starting with straight hair, you can achieve more consistent and defined beach waves.
To straighten your hair, follow these simple steps:
- Start with clean, dry hair.
- Apply a heat protectant spray to protect your hair from damage.
- Divide your hair into small sections for easier straightening.
- Using a flat iron, clamp down on each section of hair and glide the iron from roots to ends.
- Repeat this process until all sections of your hair are straightened.
After straightening, your hair will be ready for the next step in creating beach waves.

Straightening your hair helps to neutralize texture and create a smooth base for beach waves.
Decide on heat vs. no heat
When it comes to creating gorgeous beach waves, one of the key decisions you’ll need to make is whether to use heat tools or opt for a heatless method. While heat tools like curling irons and flat irons are typically used to achieve those perfect waves, there are also heatless alternatives that can give you stunning results. Let’s explore the options and find the best approach for you.
Heat Tools: Curling Iron or Flat Iron
Using a curling iron or flat iron is a popular method for creating beach waves. These tools allow you to control the size and shape of your waves, resulting in a polished and sleek look. To achieve beach waves with a curling iron, wrap small sections of hair around the barrel and hold for a few seconds before gently releasing. If you prefer using a flat iron, lightly clamp it down each section of hair and twist as you glide it through to create wave patterns.
Heatless Method: Braiding and Air-Drying
If you want to give your hair a break from heated styling tools, you can achieve heatless beach waves by simply braiding damp hair and allowing it to air-dry. Start by dividing your damp hair into sections and braid each section loosely. Let the braids sit until your hair is completely dry, and then gently undo the braids to reveal beautiful natural waves. For an extra boost of wave pattern, you can lightly clamp a flat iron down each braid to help set the waves without using excessive heat.
Pro Tip: Remember to always apply a heat protectant spray before using heated styling tools to minimize damage and protect your locks.
The choice between heat and no heat ultimately depends on your hair’s condition, your styling preferences, and the amount of time you have. While heat tools provide precise control and faster results, the heatless method is a great option for those looking for a more natural and low-maintenance approach. Now that you have the information, it’s time to decide which method suits you best.

| Heat Tools | Heatless Method |
|---|---|
| Requires curling iron or flat iron | No need for heat styling tools |
| Offers precise control over wave shape | Natural waves with a loose, effortless look |
| Quicker results | Longer drying time for air-drying |
| Potential for heat damage with frequent use | Heatless method minimizes heat-related damage |
| Suitable for those with busy schedules | Low-maintenance and no heat required |
Conclusion
After exploring various techniques and tools, it is clear that achieving the perfect waves hairstyle is within reach for everyone. Whether you prefer heatless methods or using curling irons and flat irons, there are options that cater to every hair type and length.
For those seeking a natural and effortless look, air-drying hair while twisted into buns can create beautiful beach waves without heat. On the other hand, using a straightener or flat iron can provide extra shiny waves for a more polished appearance.
Remember, experimenting with different methods and products is key to finding the perfect beachy waves that suit your style. Don’t be afraid to try out new techniques and adjust them to your hair’s unique characteristics. With a bit of practice and patience, you’ll be able to confidently rock the waves hairstyle of your dreams.